Engraving With CNC V Bit With Fusion
Cross Section Ideal
I drew up this sketch to help me visualize how the wood would inlay
I left the lower hundreth for glue but I also found that v-bits leave a rough surface when cutting pockets so this space accomodates for burs too.
The top three hundredths, seen near the top help squezed glue escape and ensures the inlay is seated all the way.

Making The Model
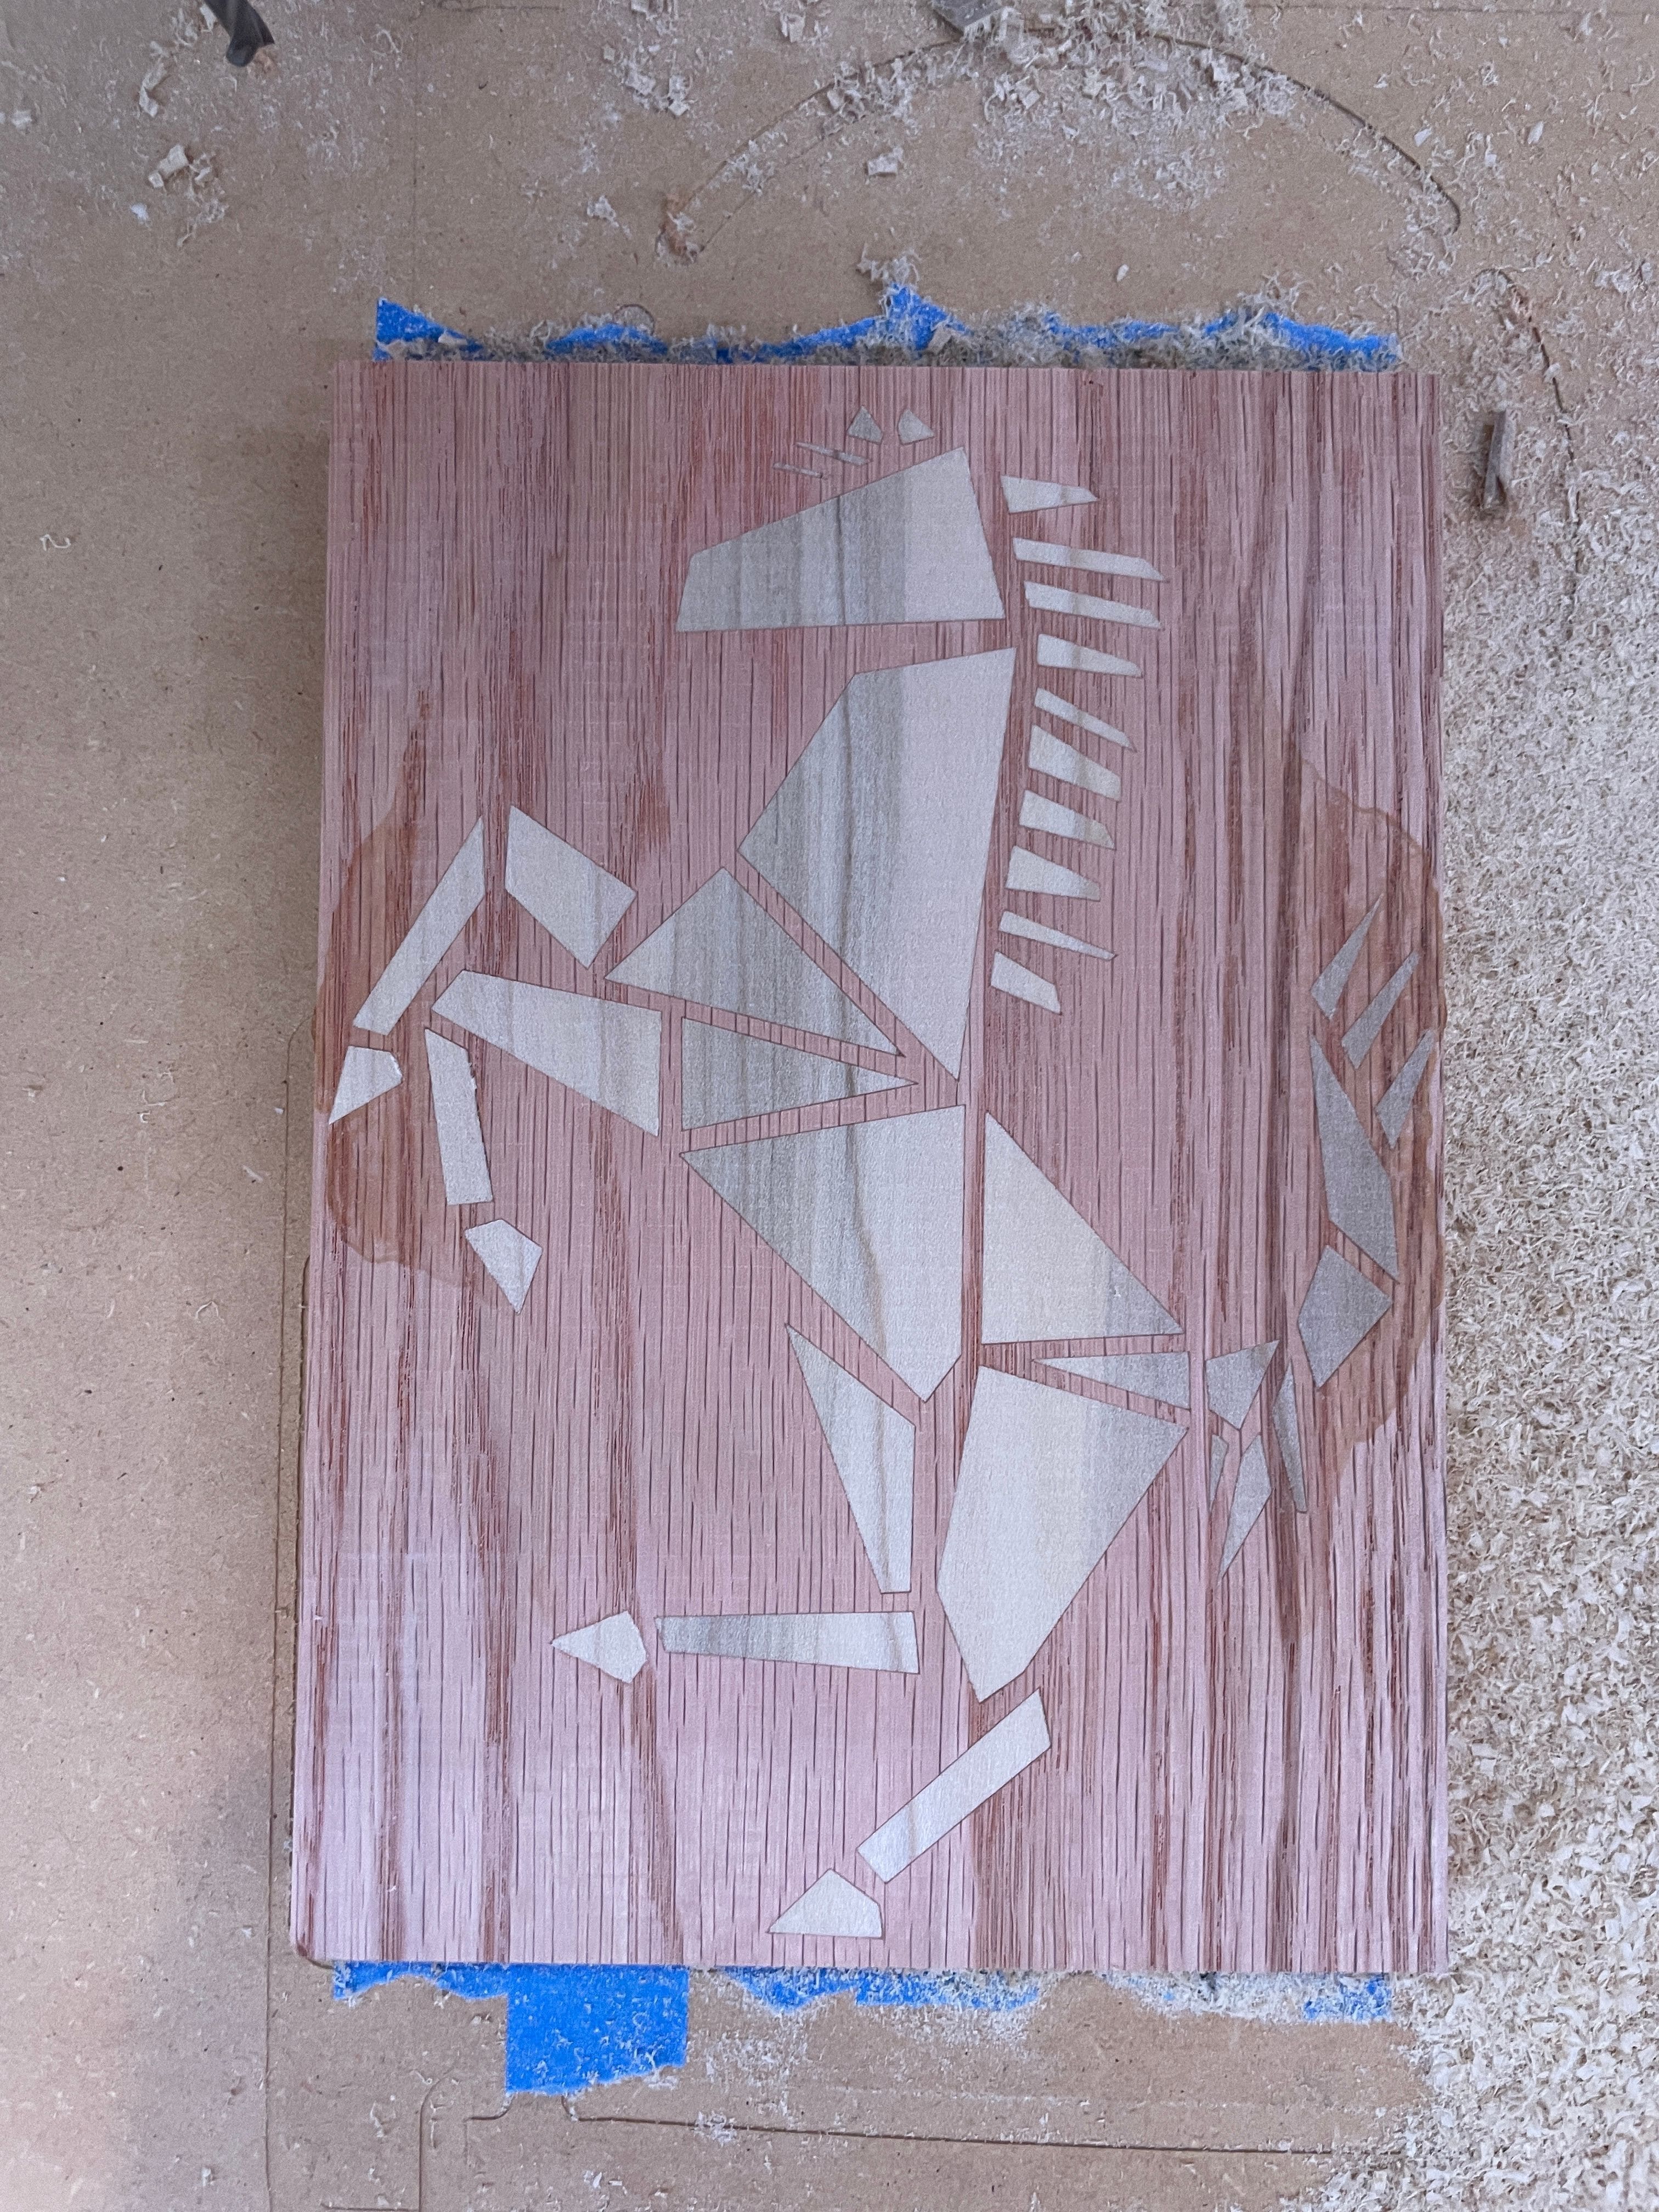
I took insperation from a famous horse symbol. Extrude cut the female side .11 inch and extrude .12 for the male side. The male and female design appear mirored. It is possible to extrude more if details are not fine on your sketch/dxf file. We do not want to exceed the depth the v-bit can cut. I have horse hairs .055" wide


CAM
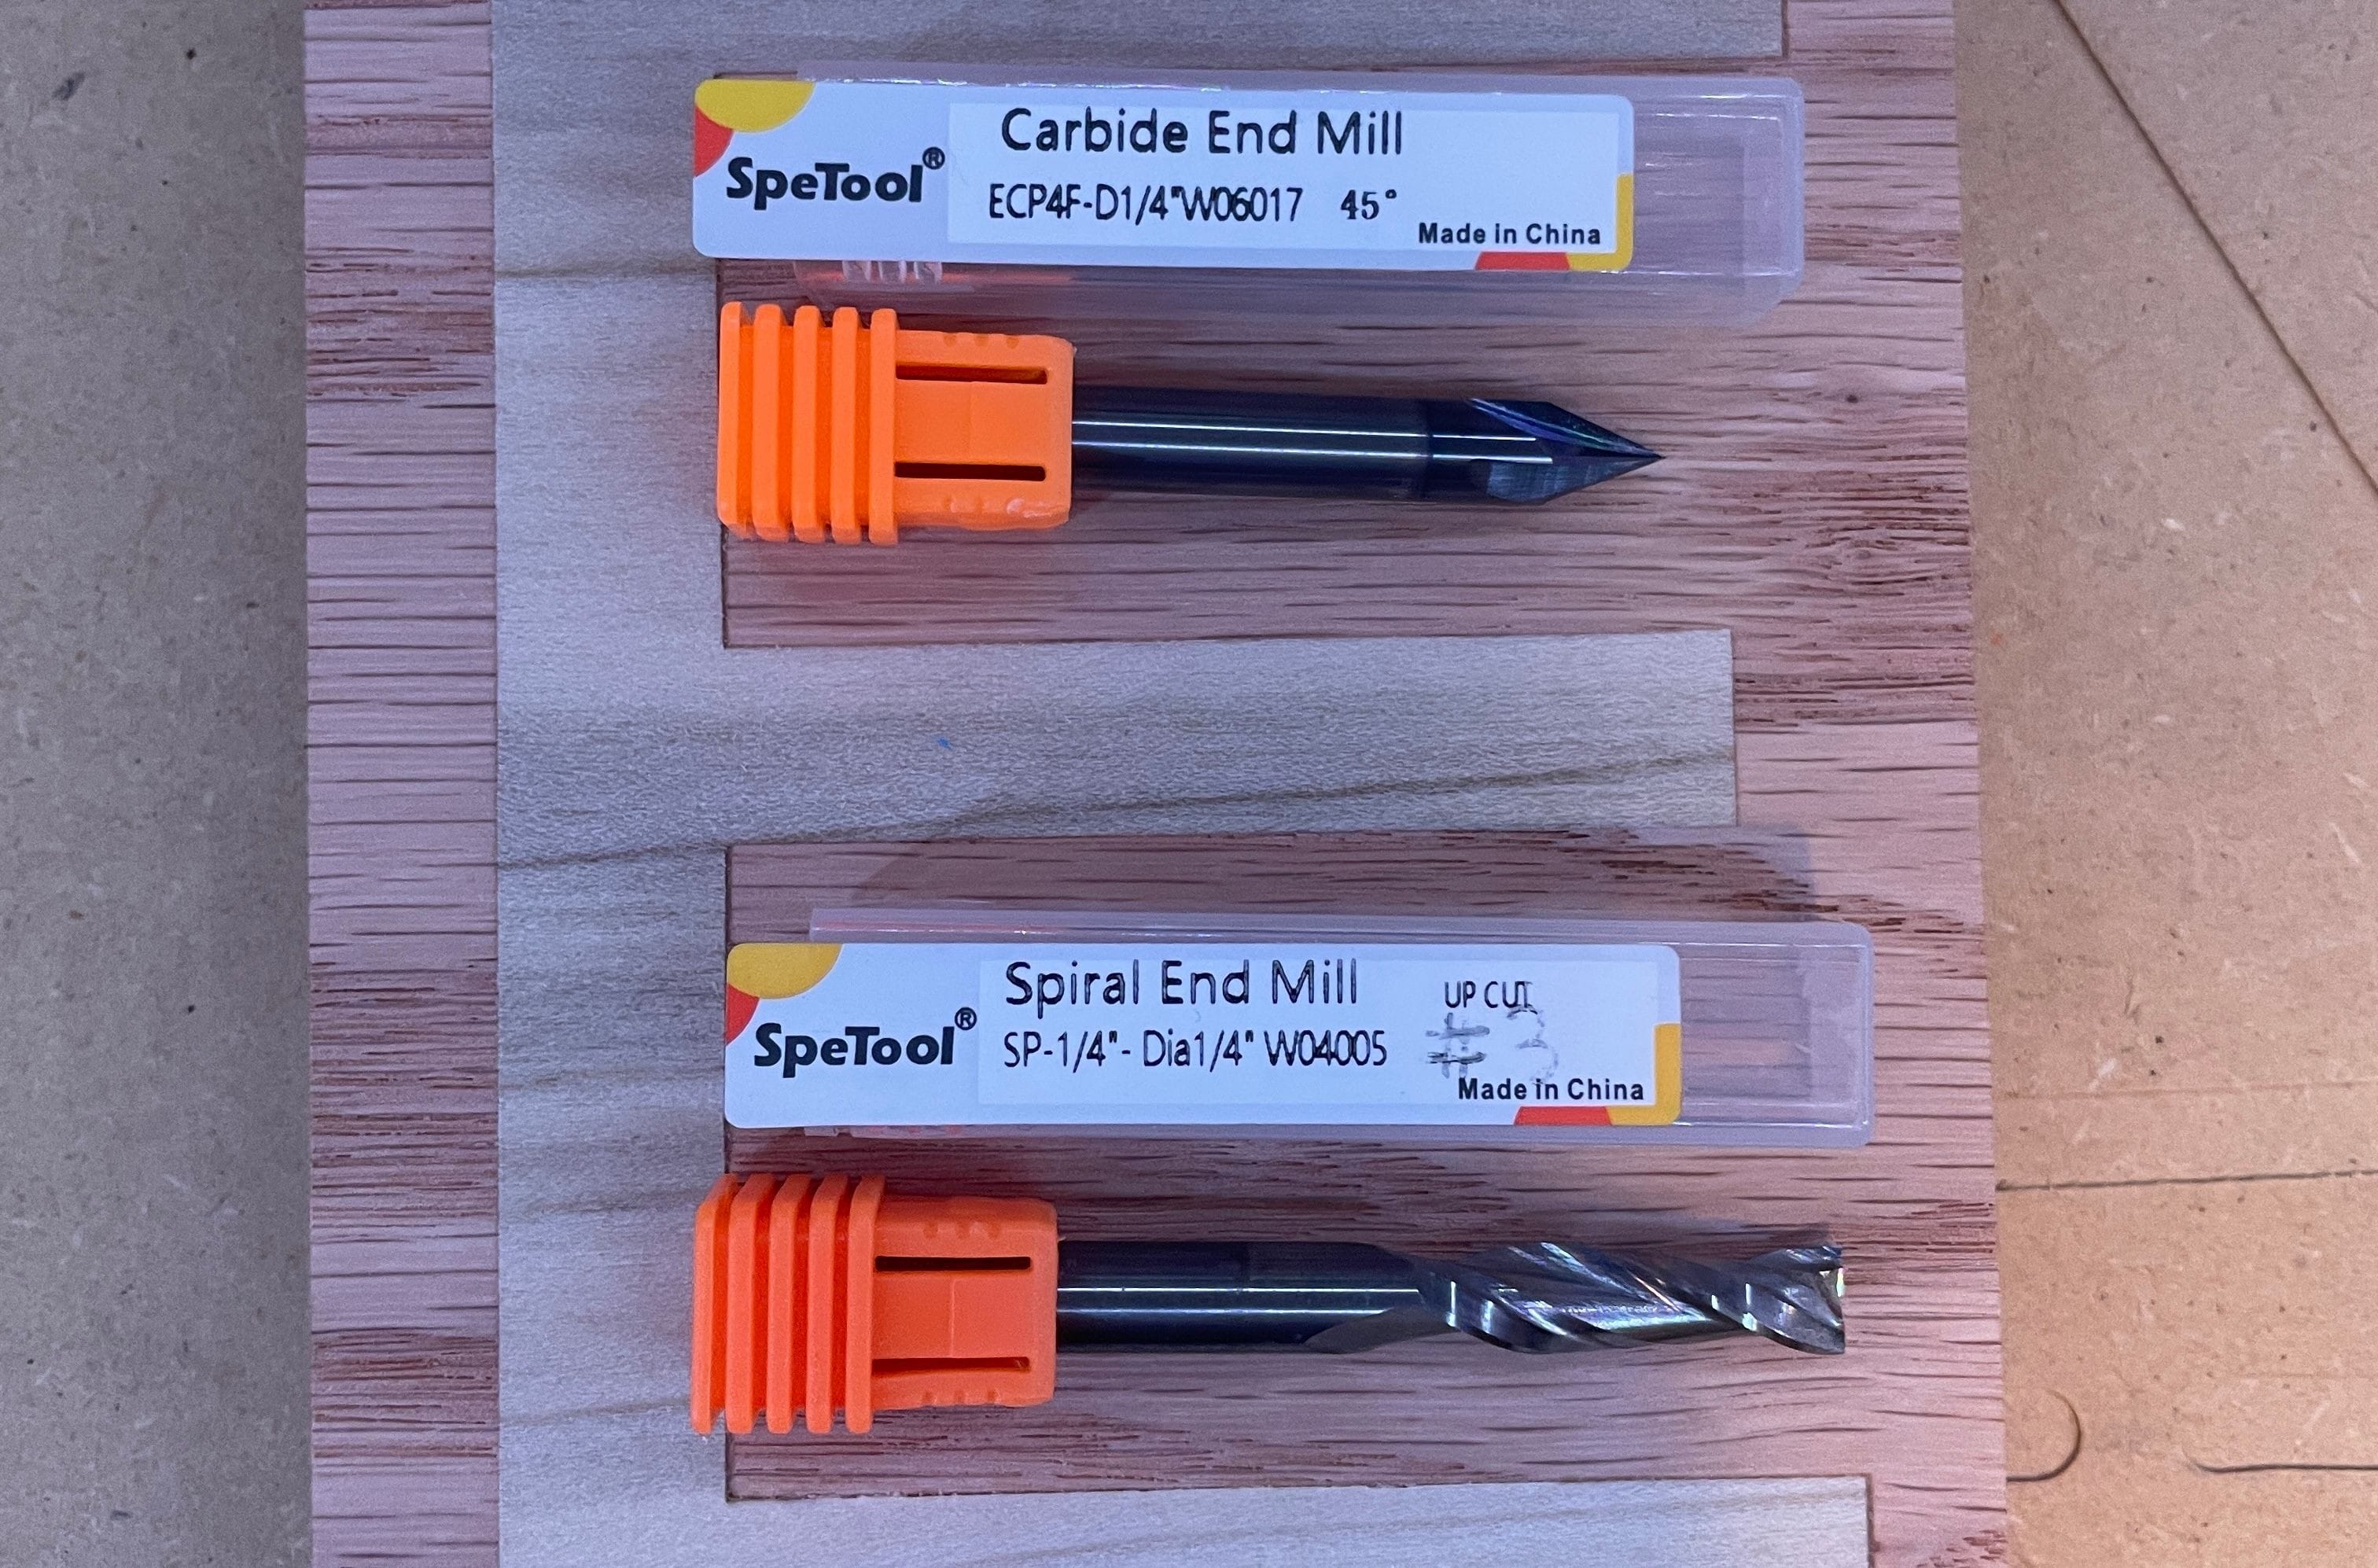
We want the v-bit to give us a cut off pyramid hole and mountain. If your shape does not have corners then it may be possible to use an alternative method round peg round hole. The v-bit will also clear the bottom of the pocket where the roughing tool can't access, for this we will make a fake .02" diameter endmill to help fusion compute.
Note: The compute time is large
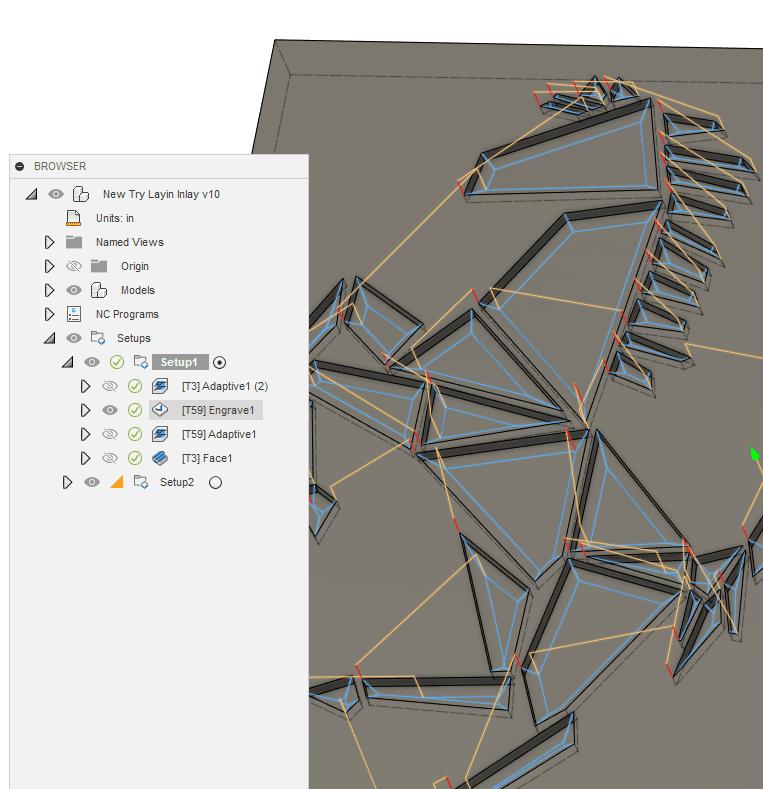
Starting on the female side
1)Adaptive Clearing with endmill to get rid of the easy bulk
2)Engrave with v-bit This clears the edges
3)Adaptive Clearing with "v-bit" here we compute with a fake .02" diameter tool to clear the pocket
4)Face with endmill This will help us later when we need to reveal the design from the sandwich


You've Been Tricked Computer! .02" diameter toolpath

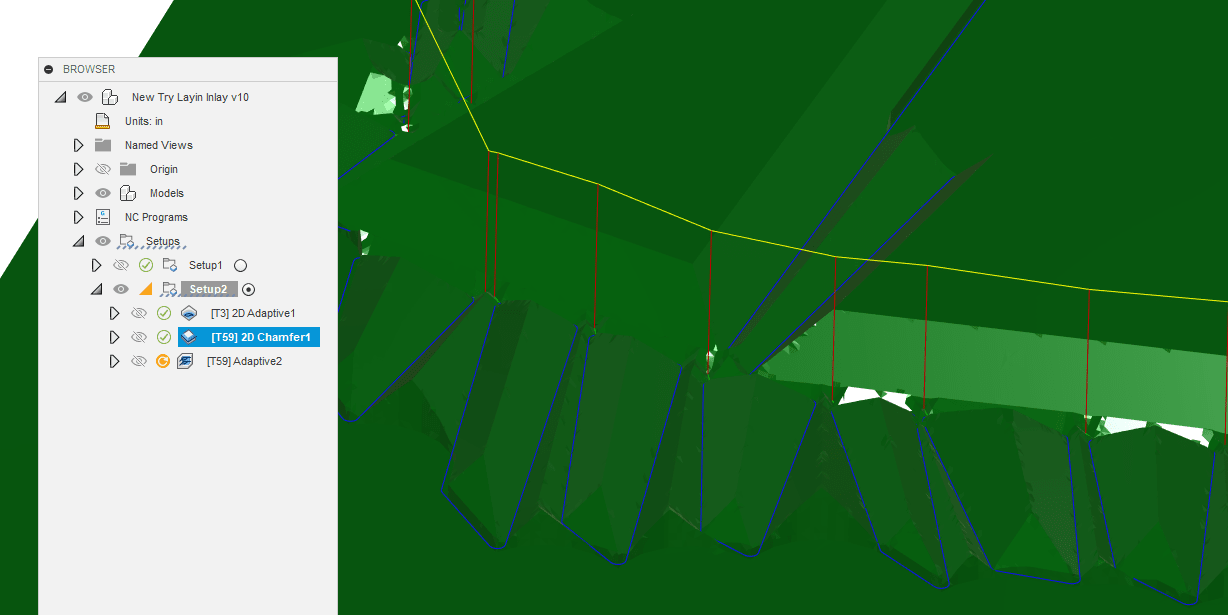
The male side
1)2d Adaptive with endmill to remove bulk
2)2d Chamfer with v-bit .09" chamfer width
This width lets us acheive the .01" clearance as seen in the "Cross Section Ideal" panel as only .09" is under the surface of the female part
3)Adaptive Clearing with v-bit compute using .02" diameter endmill


You may find better finishes if you repeat the v-bit paths when machining.
Sandwich Time and Removal
Imagine the two pieces being held together with lots of clamps after placing glue in the pockets.
After the glue sets you can use the face path you made earlier to the height of the female surface. Creep to the desired height, over cutting will shrink your engraving.
Finish as needed